Introduction to Taiyaki
What is Taiyaki and Why is it So Beloved?
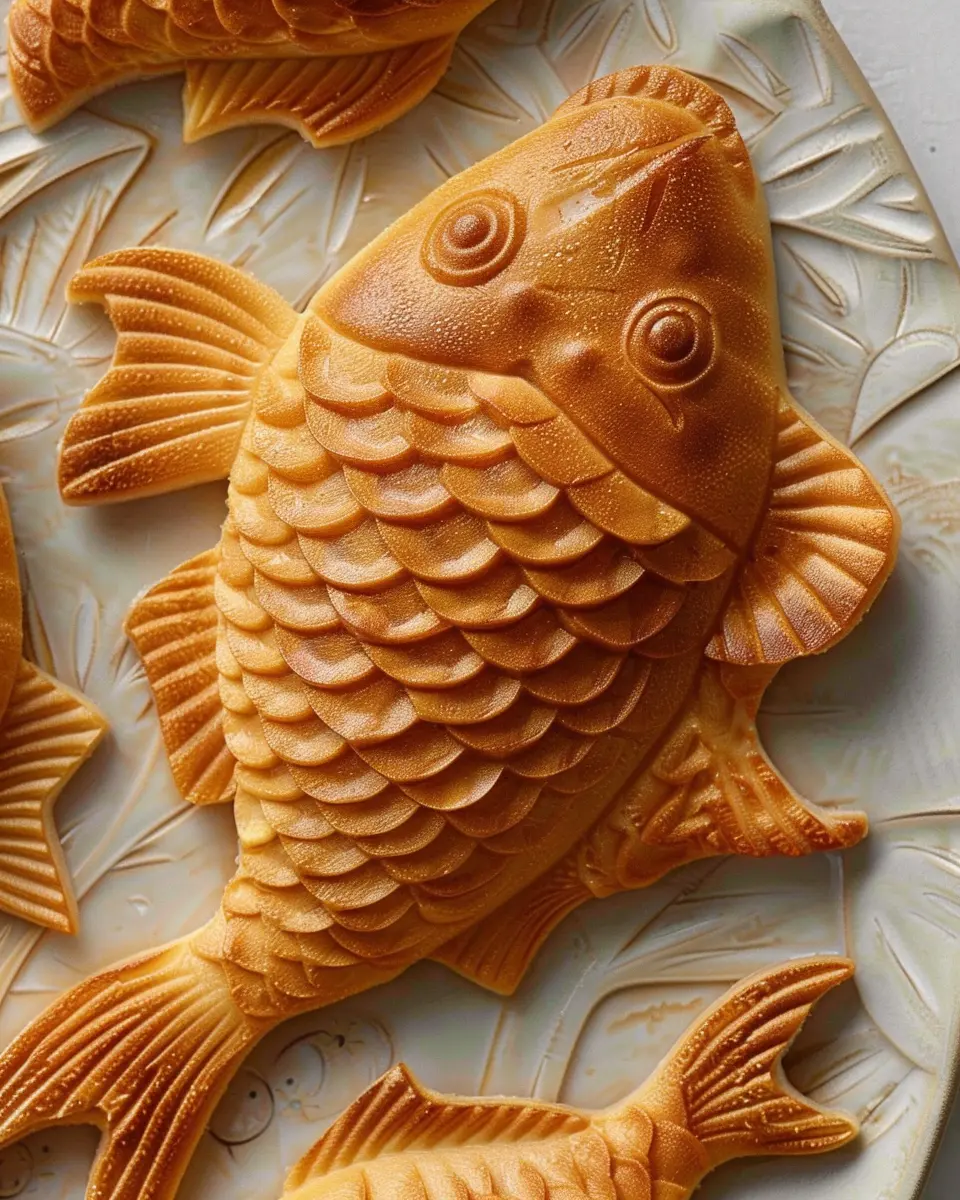
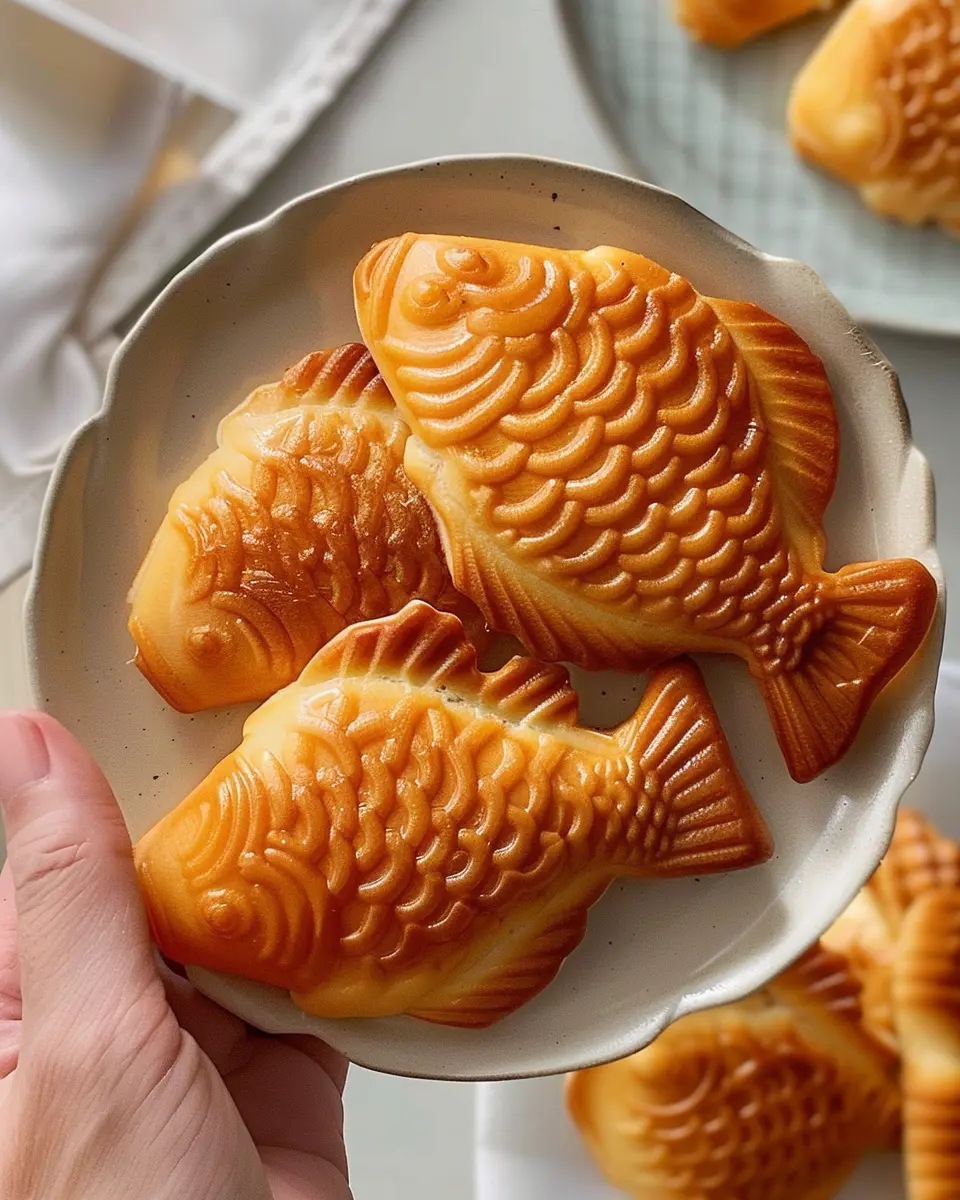
Have you ever heard the term taiyaki? If not, you’re in for a treat! Taiyaki is a popular Japanese dessert shaped like a fish, traditionally filled with sweet ingredients. Picture this: a warm, golden-brown pastry that’s perfectly crisp on the outside while revealing a sweet, oozing filling inside. Sounds inviting, right? This delightful snack traces its origins back to the 1900s in Japan, and over the years, it has captured the hearts (and taste buds) of people not just in Japan but all over the world.
So, what’s the magic behind its charm? For starters, taiyaki is more than just a dessert; it’s a nostalgic symbol of Japanese street food culture. Many people have fond memories tied to the experience of enjoying taiyaki at festivals or street vendors after school. The fish shape itself—often resembling a sea bream—holds significance, as sea bream (or tai in Japanese) is considered a symbol of good fortune and happiness.
When it comes to filling options, taiyaki is incredibly versatile. The classic filling is a sweet red bean paste made from adzuki beans, but modern variations have expanded the options dramatically. You can now find delights stuffed with custard, chocolate, sweet potato, and even savory fillings like matcha or ice cream! If you’re curious about the delicious possibilities, check out this comprehensive guide to Japanese sweets for even more inspiration.
Making taiyaki at home is not just a culinary project; it’s a wonderful way to share cultural experiences with friends or family. The joy of biting into a homemade piece of taiyaki that you crafted with your own hands is unmatched! Plus, it’s easy to customize the fillings to cater to different tastes—everyone wins!
In short, taiyaki is beloved not only for its lovely flavor and appearance but also for the rich cultural heritage it carries. So, if you’re ready to dive into making this delightful Japanese fish dessert, let’s get started with the full recipe!
Ingredients for Taiyaki
Making taiyaki at home is not just about the process; it’s about gathering the right ingredients to create that delightful experience. Whether you’re preparing for a cozy day indoors or planning a fun gathering, having these components on hand will set you up for success.
Essential Ingredients
For the taiyaki batter, you’ll need:
- All-purpose flour: This forms the base of your batter, providing the perfect texture.
- Baking powder: Helps the batter rise, giving it that fluffy feel.
- Granulated sugar: A touch of sweetness enhances the flavor.
- Salt: Balances the sweetness and enhances the other flavors.
- Milk: Adds moisture and a creamy consistency; feel free to substitute with almond or oat milk for a dairy-free option.
Filling Choices
The filling options are where you can get creative! Traditional taiyaki is often filled with:
- Sweet red bean paste: Popular and rich in flavor.
- Custard: Creamy and delicious, ideal for a nostalgic treat.
- Chocolate: Perfect for those with a sweet tooth.
Some adventurous home chefs even explorе alternative fillings like fruit or ice cream. What’s your favorite filling?
With these ingredients ready, you’re well on your way to making the delicious Japanese fish-shaped dessert loved by many! For even more tips on ingredient selection and variations, be sure to check out Serious Eats, where they dive deep into flavor combinations that can elevate your taiyaki game!
Preparing Taiyaki
Creating your own taiyaki, that charming Japanese fish-shaped dessert filled with delightful sweet fillings, is a rewarding experience! With its crispy exterior and soft, warm center, it’s no wonder this treat has captured the hearts (and taste buds) of so many. To get started, let’s go through each step together, making sure you have everything you need for a successful taiyaki-making adventure.
Gather Your Ingredients
Before diving into the cooking process, it’s crucial to gather all the necessary ingredients. Here’s what you’ll need for a basic taiyaki batter:
-
For the batter:
-
1 cup all-purpose flour
-
1 tablespoon sugar
-
1 teaspoon baking powder
-
1 cup water
-
A pinch of salt
-
Fillings (choose your favorites):
-
Red bean paste (anko)
-
Chocolate or Nutella
-
Sweetened custard
-
Fresh fruits (like bananas or strawberries)
-
Turkey bacon or chicken ham for a savory twist
It’s a good idea to check out some Japanese grocery stores or online shops, like Mitsuwa Marketplace, for authentic ingredients that might enhance your taiyaki experience.
Mix the Dry Ingredients
Once everything is ready, start by mixing the dry ingredients in a large bowl. Combine the flour, sugar, baking powder, and salt. Make sure there are no lumps, as a smooth batter is key to achieving that beautiful taiyaki texture. Use a whisk for best results—this helps aerate the flour and creates a light batter.
Combine Wet Ingredients and Form the Batter
In another bowl, measure out a cup of water. Gradually pour this into the dry mixture while stirring gently. The goal is to mix until you have a smooth, lump-free batter. You want it to be slightly thicker than pancake batter but still pourable.
If you’re feeling adventurous, you can flavor the batter with a teaspoon of vanilla extract or even matcha powder for a unique spin!
Rest the Batter for the Best Texture
Once your batter is well-combined, cover it with a cloth or plastic wrap and let it rest for about 30 minutes. This resting period is non-negotiable—it allows the gluten to relax, giving your taiyaki a tender bite. While you wait, you can prep your fillings or get excited about the upcoming cooking process!
Preheat and Prepare the Taiyaki Pan
While the batter rests, it’s time to prepare your taiyaki pan. If you have a stovetop taiyaki mold, preheat it over medium heat. Lightly grease both halves of the mold with oil (use a brush or a paper towel for even application) to ensure the taiyaki doesn’t stick.
If you’re using an electric taiyaki maker, be sure to follow the manufacturer’s instructions for preheating. Aim for a nice even heat distribution across both layers!
Fill the Taiyaki Mold with Batter and Filling
With your batter ready and your pan heated, it’s time to assemble the taiyaki. Pour a bit of batter into the mold, just enough to cover the bottom half. Then comes the exciting part: add your filling! If you’re using something like anko, a tablespoon is usually enough. Don’t be shy to get creative with your fillings!
Now, pour a little more batter on top to seal things in. Close the mold and cook for about 3-5 minutes, flipping halfway through. You want a gorgeous golden-brown color and that delightful crispy texture.
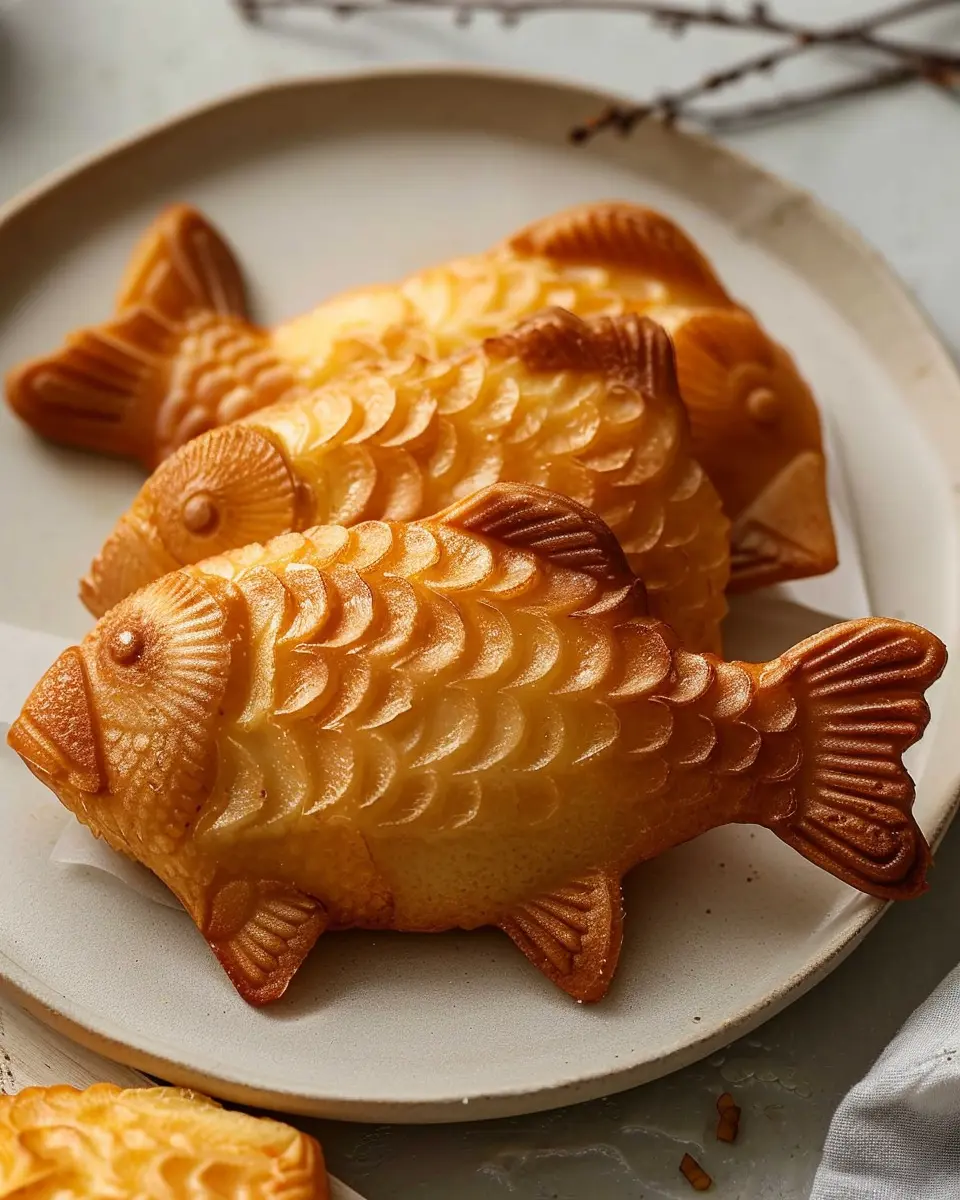
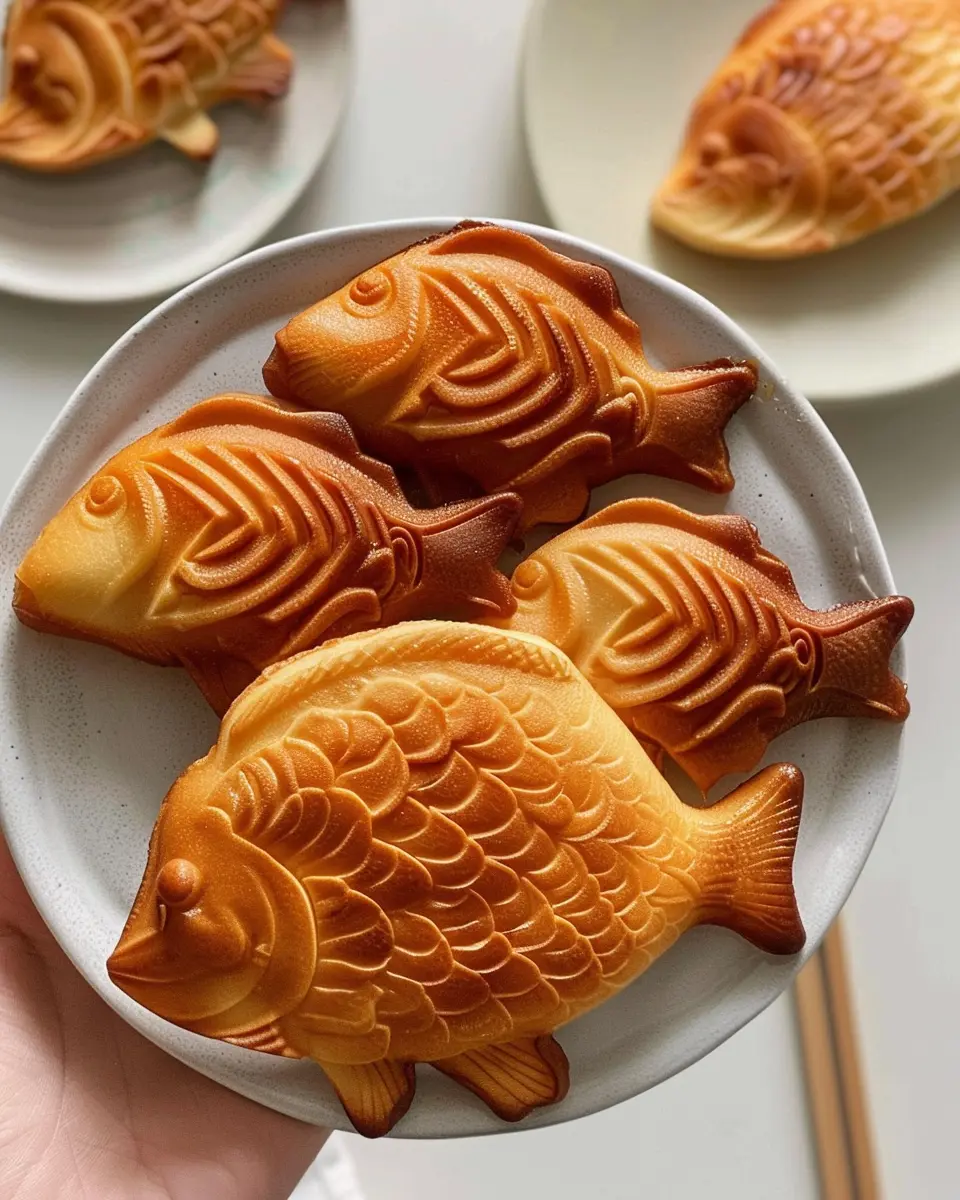
Cook Until Golden Brown and Serve
Patience is key here! Keep an eye on them as they cook, and when they’re ready, gently remove your taiyaki from the mold. Serve them warm, dusted with powdered sugar, or drizzled with chocolate sauce for that extra flair.
And there you have it—your homemade taiyaki is ready to enjoy! Not only will you impress your friends and family, but you’ll also savor the satisfaction of crafting this quintessential Japanese delicacy right in your kitchen. Enjoy!
Variations on Taiyaki
Sweet Fillings: Red Bean Paste and Nutella
When it comes to taiyaki, the options for sweet fillings are virtually endless. The classic choice, red bean paste, is a beloved tradition. Its natural sweetness, combined with a hint of earthiness, makes it a favorite among purists. If you’re feeling adventurous, though, why not try filling your taiyaki with Nutella? The rich, creamy chocolate hazelnut spread adds a modern twist that is sure to satisfy anyone with a sweet tooth. Other delightful combinations include:
- Custard
- Matcha cream
- Chocolate chips
- Seasonal fruits like strawberries or bananas
These fillings not only add unique flavors but also create a lovely contrast to the warm, crispy exterior.
Savory Options: Cheese and Custard
Taiyaki needn’t only be sweet! Explore savory fillings that can turn this delectable dessert into a satisfying snack or even a meal. Cheese lovers will rejoice at the prospect of cheesy taiyaki, where gooey melted cheese is enclosed in the fish-shaped pastry. For a unique twist, try incorporating turkey bacon or chicken ham for an added layer of flavor.
Other fantastic savory fillings include:
- Creamy custard
- Savory vegetable mixes
- Spicy kimchi
Imagine biting into your taiyaki and experiencing a burst of unexpected flavors that make it both satisfying and fulfilling.
Finding the perfect balance of flavors is key, and each bite offers a delightful surprise! So which variation will you try first? For more creative taiyaki recipes, check out resources like Just One Cookbook for detailed inspiration.
Cooking tips and notes for Taiyaki
Why resting the batter is essential
Resting your taiyaki batter is critical for achieving a light and fluffy texture. When you allow the batter to rest for at least 30 minutes, the gluten relaxes, which helps prevent toughness while cooking. This step not only enhances the overall flavor but also leads to a more even rise. Think of it as giving your ingredients a chance to mingle and become best friends!
How to achieve that signature crispy exterior
To get that iconic crispy exterior that taiyaki is famous for, you’ll want to take a couple of extra steps:
- Use smoke-free oil: Lightly greasing your taiyaki pan with high-smoke point oils like canola or vegetable oil can help achieve that crispiness.
- Control heat: Start with medium-high heat for the first few minutes, then reduce it to medium-low to allow the inside to cook through without burning the outside.
- Flip wisely: Flip once the edges start to become golden brown, ensuring a perfectly cooked fish shape.
A good tip? Keep an eye on the first batch—you’ll learn the ideal cook time for your stove. You might just find yourself perfecting your taiyaki skills before you know it! For more on perfecting batter techniques, check out Serious Eats.
Serving suggestions for Taiyaki
Serving taiyaki warm for the ultimate experience
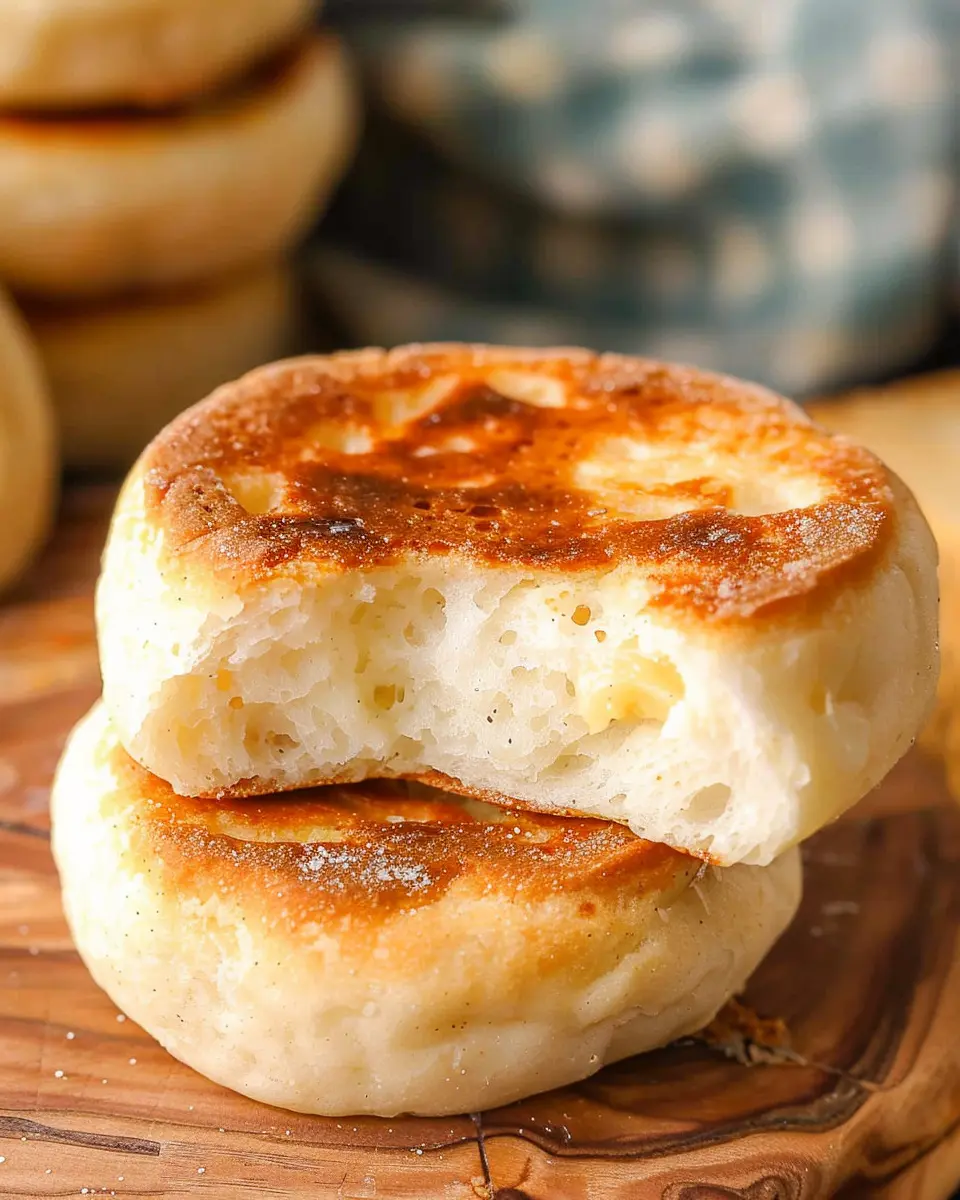
To truly savor taiyaki, serve it warm. Freshly cooked, the thin, fish-shaped waffle gives way to a delightful filling of sweet red bean, custard, or even matcha. The warmth enhances the flavors and creates a wonderful contrast between the slightly crispy exterior and creamy interior. For the best results, enjoy your taiyaki right after cooking, or pop it in a preheated oven for a few minutes if it’s cooled down. Your taste buds will thank you!
Pairing ideas for taiyaki with drinks or sides
To elevate your taiyaki experience, consider pairing it with complementary drinks and sides. Here are a few suggestions:
- Green Tea: A classic match! The earthy notes of green tea balance the sweetness of the taiyaki perfectly.
- Iced Matcha Latte: For a modern twist, serve taiyaki with an iced matcha latte. It’s refreshing, vibrant, and delicious!
- Fruit Platter: Light sides like fresh fruit can provide a refreshing contrast. Think sliced strawberries or tangerines!
Feel free to explore more wonderful pairings and serving techniques in Japanese cuisine through reputable sources like SBS Food. Enjoy your delightful taiyaki moments!
Time breakdown for making Taiyaki
Preparation time
Making taiyaki starts with the fun part: preparation! Allow about 15-20 minutes to gather your ingredients and mix your batter. This step is quite enjoyable, as you’ll feel the excitement build as your kitchen begins to fill with the delightful scents of flour, sugar, and your chosen filling.
Cooking time
Once your taiyaki molds are heated, cooking will take around 5-7 minutes per batch. Keep an eye on them; you want that perfect golden-brown color. Depending on how many you’re making, this can vary, but most home cooks can manage 4-6 at a time.
Total time
In total, you’re looking at roughly 30-40 minutes from start to finish. This recipe is perfect for a weekend brunch or a fun dessert night with friends! Want to learn more about the history of taiyaki? Check out this article by Just One Cookbook. You’ll discover why this delicacy is loved worldwide.
Nutritional facts for Taiyaki
Calories per serving
When indulging in taiyaki, it’s helpful to know what you’re getting in terms of calories. A typical serving of this delightful Japanese fish-shaped dessert contains approximately 200-250 calories, depending on the filling and size. It’s a treat you can enjoy without too much guilt – just remember moderation is key!
Key nutritional components
Understanding the nutritional value of taiyaki can enhance your overall dining experience. Here are some key components:
- Carbohydrates: Ranging from 30-35 grams, these are primarily from the batter, providing a quick energy source.
- Fats: With about 5 grams of fat per serving, taiyaki is relatively low in fat, especially when baked rather than fried.
- Protein: This dessert offers around 4-6 grams of protein, primarily from the fillings like sweet red bean paste or custard.
- Sugar: The sweetness factor can range from 10-15 grams, depending on how much filling you choose.
If you’re interested in a healthier alternative, think about using whole grain flours for the batter or opting for fruit-based fillings. For more insights on smart eating habits, you can check out resources like the USDA’s Dietary Guidelines.
By keeping these nutritional facts in mind, you can savor your taiyaki guilt-free while still enjoying a delicious dessert!
FAQ about Taiyaki
How do you store leftover taiyaki?
If you find yourself with leftover taiyaki, don’t fret! Storing them properly is key to maintaining their deliciousness. Place your taiyaki in an airtight container or wrap them in plastic wrap to prevent them from drying out. They’re best enjoyed within a day or two, but you can keep them in the fridge for up to three days. When you’re ready to indulge, simply reheat them in a toaster oven or on a skillet for a few minutes. This will bring back that delightful crispiness!
Can you freeze taiyaki for later?
Absolutely! Freezing taiyaki is a great way to save these delightful fish-shaped treats for later. Once they have cooled completely, wrap each piece individually in plastic wrap and then place them in a sealable freezer bag. They can last in the freezer for about a month. When you want to enjoy them again, just let them thaw in the fridge overnight, then reheat as mentioned above. What a fantastic way to have a sweet treat on hand any time!
What other fillings can I try in taiyaki?
While taiyaki traditionally features anko (sweet red bean paste) as the classic filling, the options are truly endless! Here are some delicious alternatives to experiment with:
- Custard: Creamy and sweet, custard adds a smooth texture.
- Chocolate: Who can resist the gooey goodness of melted chocolate?
- Matcha: For a unique twist, try a matcha custard or paste.
- Sweet Potato: Savory and sweet, it’s a flavor that’s truly comforting.
- Turkey Bacon and Cheese: For a savory angle, this combo is a game changer.
Your taiyaki journey awaits—get creative and enjoy the delicious possibilities! If you’re looking for even more inspiration, check out this article on various Asian desserts to enhance your culinary repertoire (Serious Eats).
Conclusion on Taiyaki
Final thoughts and encouragement to try making taiyaki at home
As we wrap up our journey into the delightful world of taiyaki, I hope you feel inspired to try making this delicious Japanese treat at home. Not only is it a fun cooking project, but the process also allows you to customize your fillings—from sweet red bean paste to creamy custard or decadent chocolate.
Don’t hesitate to invite friends over for a taiyaki-making party; it’s a fantastic way to share culture and creativity! For helpful tips on perfecting your technique, check out Serious Eats for further insights. So grab a taiyaki mold and start experimenting with flavors—you might just create a new family favorite!
PrintTaiyaki: Easy Recipe for the Best Japanese Fish Dessert at Home

Learn how to make Taiyaki, a delicious Japanese fish-shaped dessert that is easy to prepare at home.
- Prep Time: 10 minutes
- Cook Time: 15 minutes
- Total Time: 25 minutes
- Yield: 4 servings
- Category: Dessert
- Method: Grilling
- Cuisine: Japanese
- Diet: Vegetarian
Ingredients
- 1 cup all-purpose flour
- 1 tablespoon sugar
- 1 teaspoon baking powder
- 1 cup milk
- 1 large egg
- 1 teaspoon vanilla extract
- 1/2 cup red bean paste or chocolate filling
Instructions
- In a bowl, mix the flour, sugar, and baking powder.
- In another bowl, whisk the milk, egg, and vanilla extract.
- Combine the wet and dry ingredients until smooth.
- Preheat your Taiyaki pan and pour in some batter.
- Add a spoonful of the filling in the center.
- Cover with more batter and close the pan.
- Cook until golden brown on both sides and serve warm.
Notes
- For a sweeter batter, increase the sugar.
- Experiment with different fillings like custard or fruit.
Nutrition
- Serving Size: 2 Taiyaki
- Calories: 150
- Sugar: 10g
- Sodium: 200mg
- Fat: 5g
- Saturated Fat: 1g
- Unsaturated Fat: 4g
- Trans Fat: 0g
- Carbohydrates: 22g
- Fiber: 1g
- Protein: 4g
- Cholesterol: 50mg